Making a device to measure printer filament length when printing multicolor objects
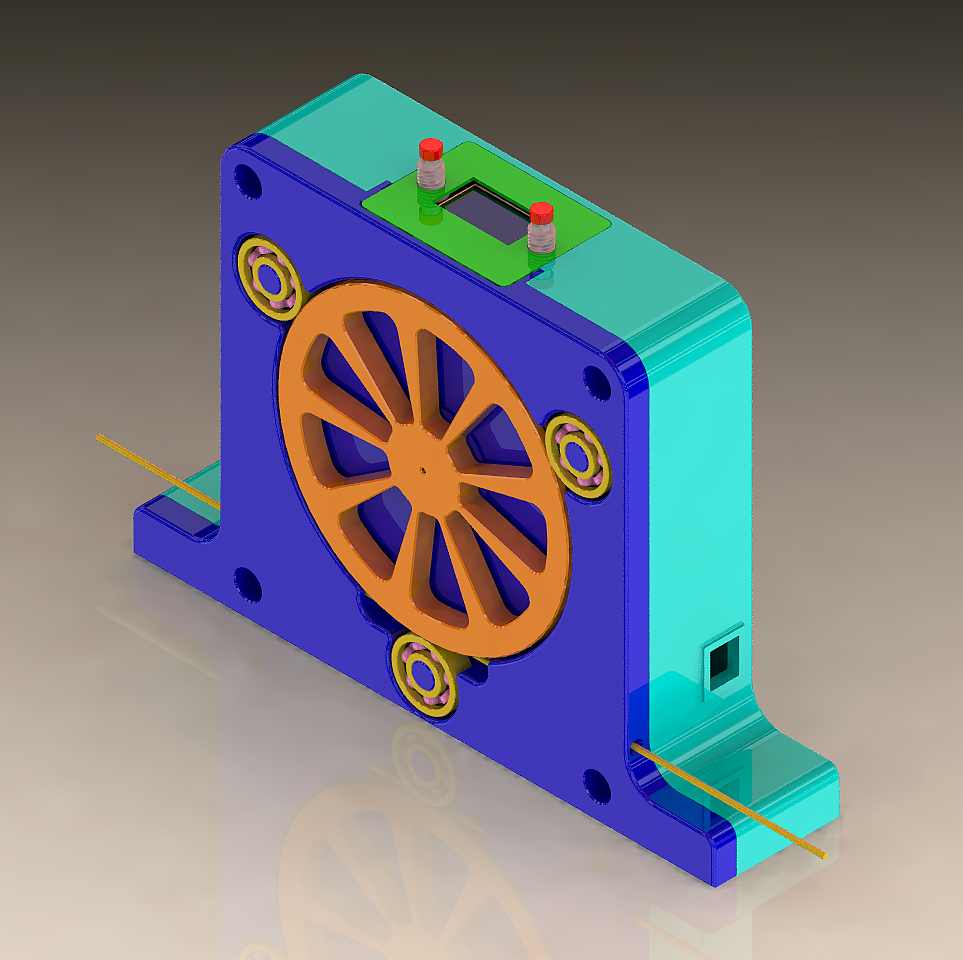
HOW IT WORKS
INSERT THE FILAMENT ON THE RIGHT SIDE, PUSH THE ZERO BUTTON TO ZERO THE DISPLAY, AND THEN PULL THE FILAMENT OUT THE LEFT SIDE UNTIL THE DISPLAY READS THE LENGTH YOU NEED
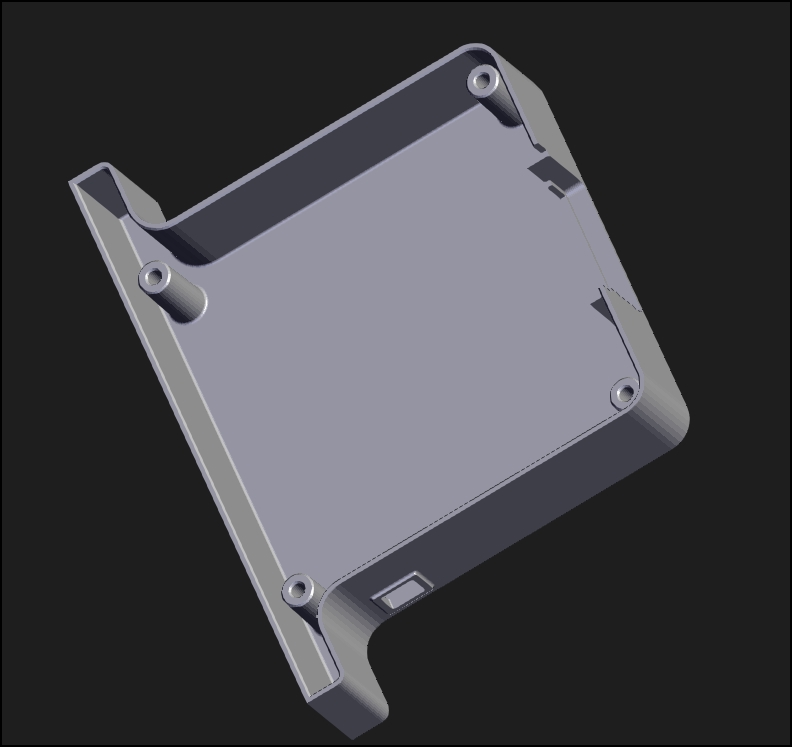
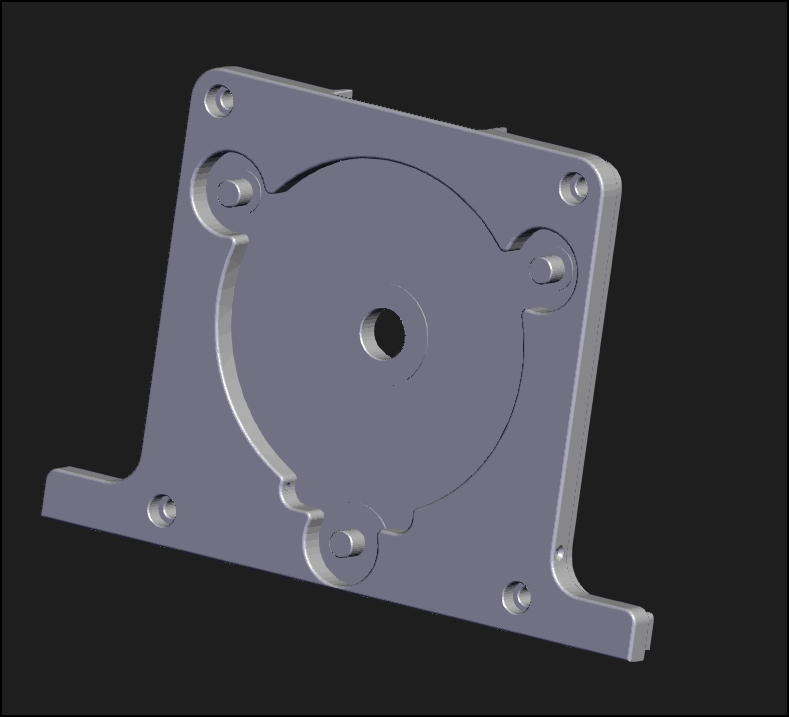

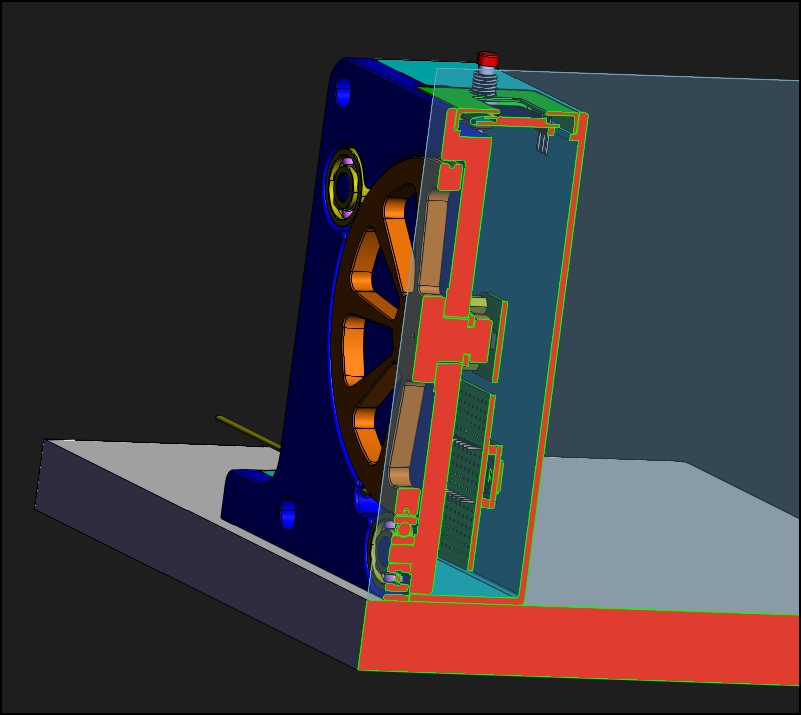
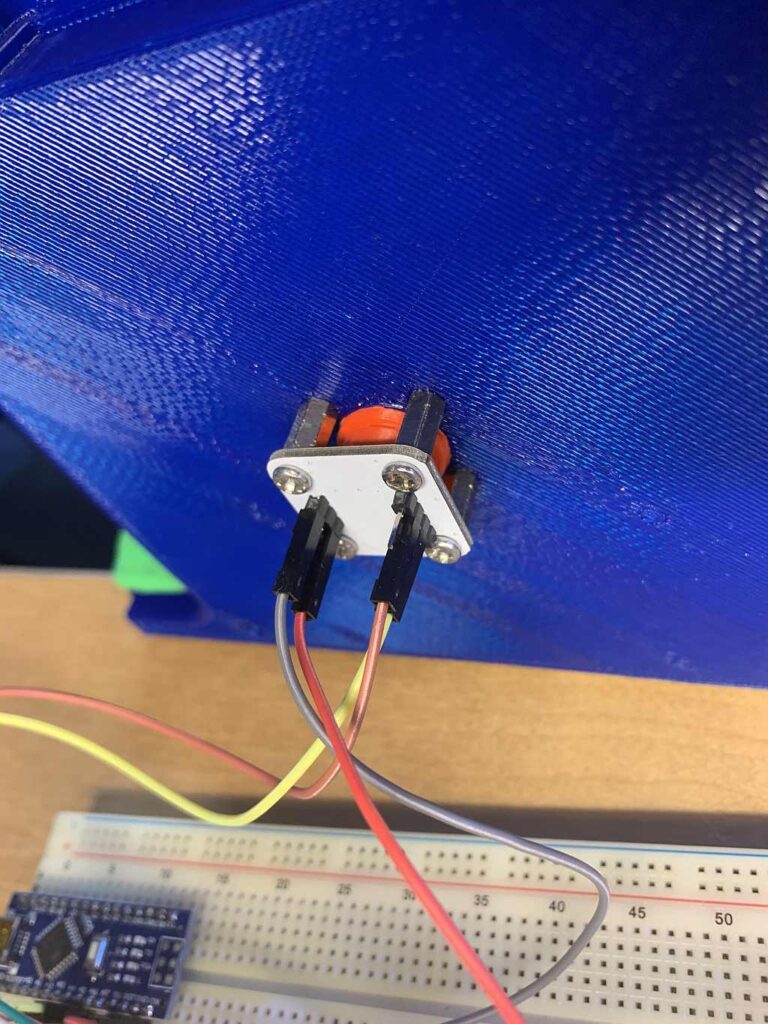
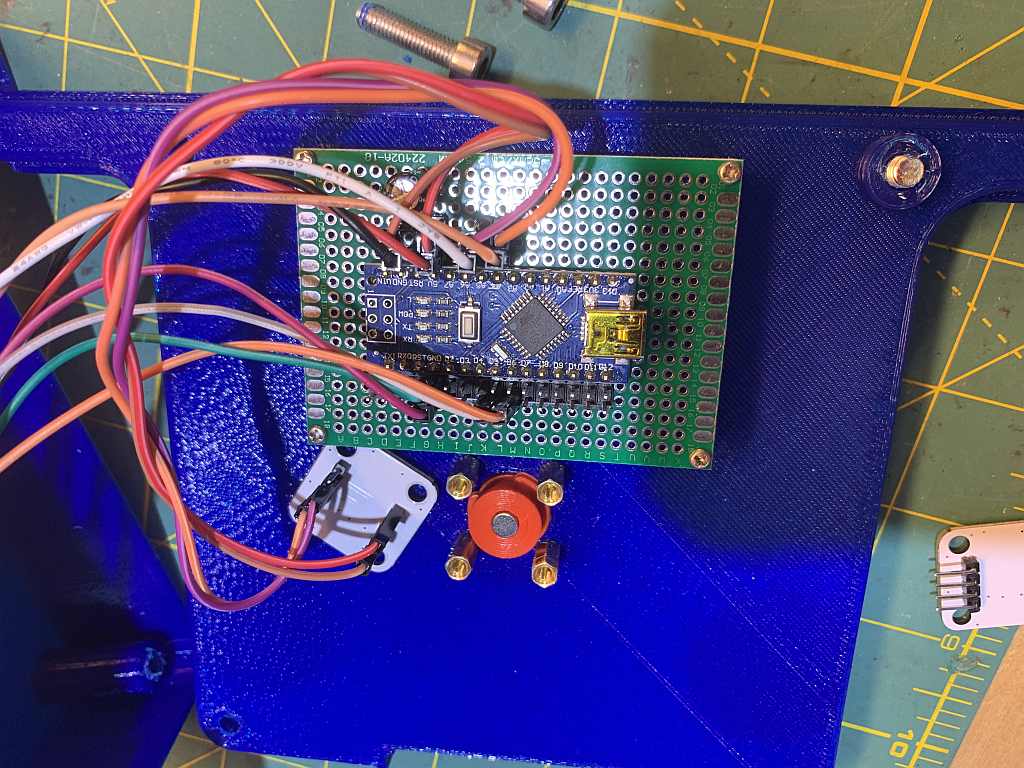
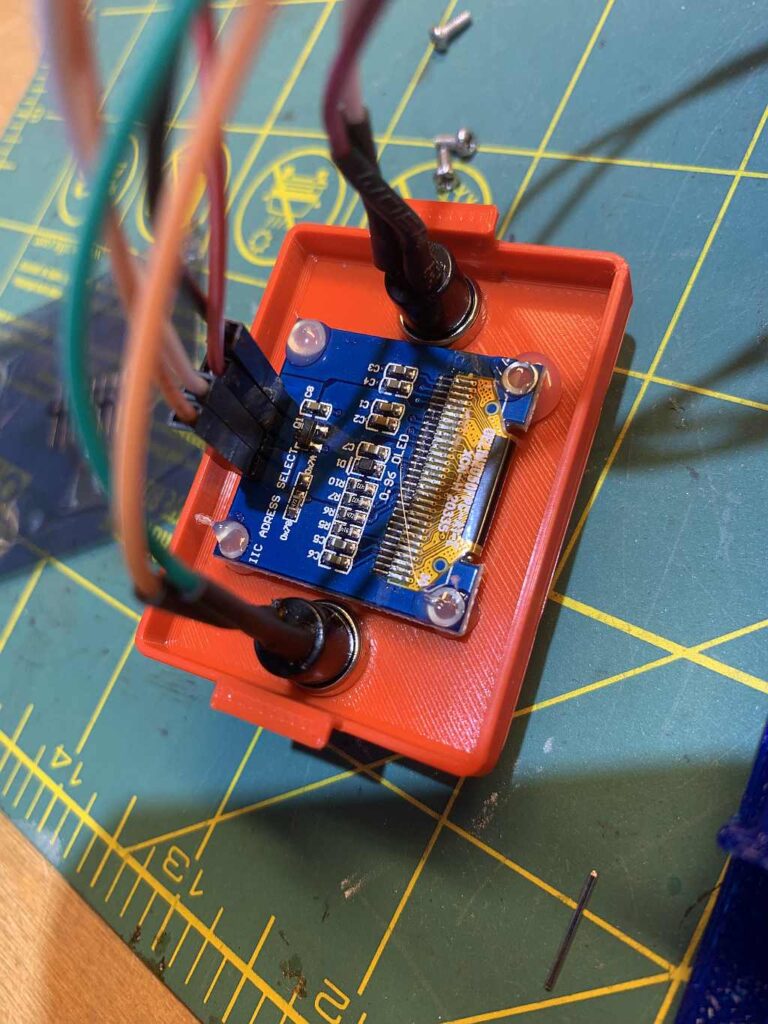
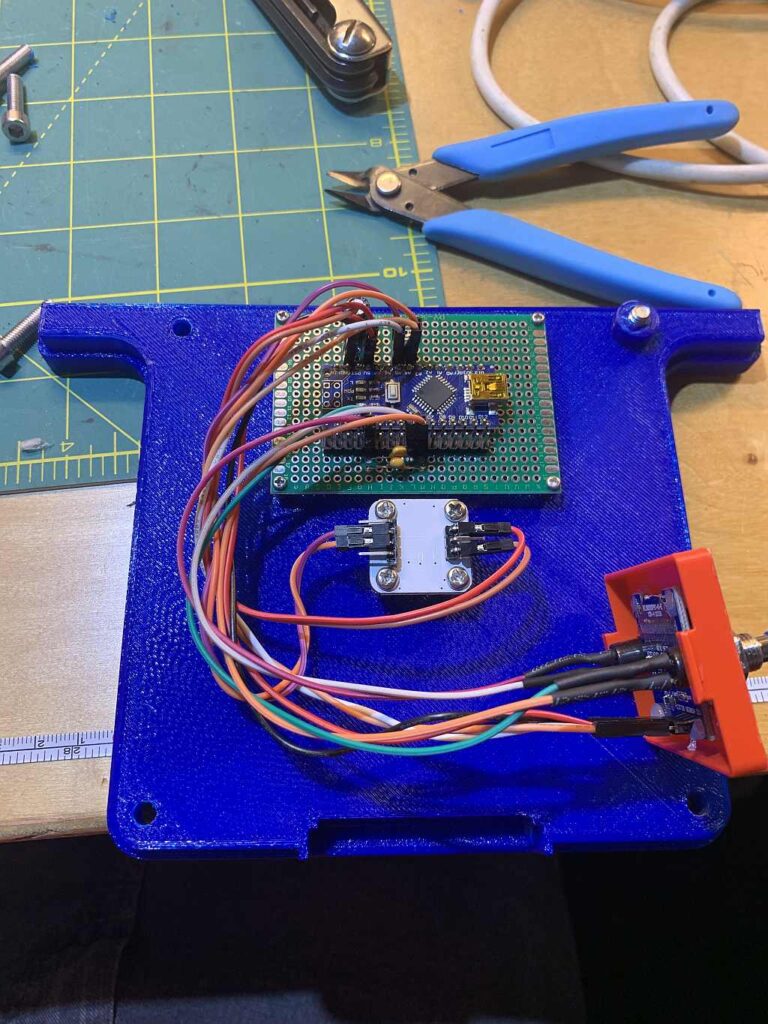

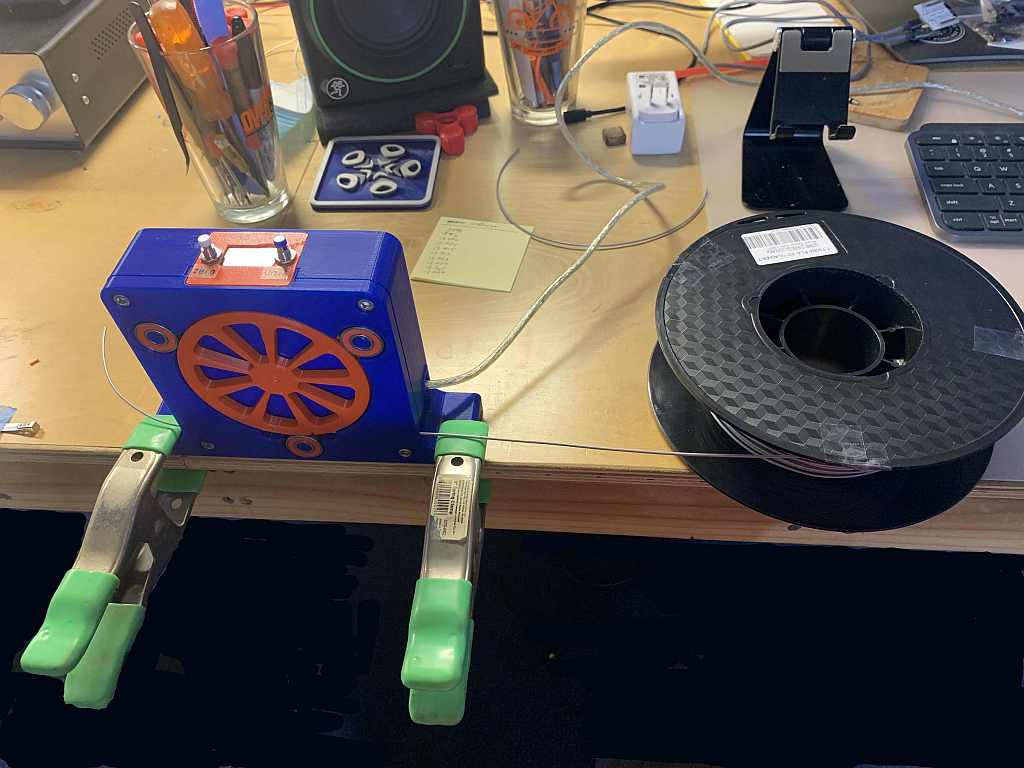

You can find design info at the links below
https://github.com/bmoniey/FilamentMeasuringTool
https://grabcad.com/library/filament-measuring-tool-1
Operation of Measurer
Power
Use a USB C to Mini cable for power. Any USB C wall adapter or USB C port should work.
Normal Mode (out of reset)
Will display units and the length with appropriate precion.
Reset Button: Press to zero length readout.
Units Button: Press to change between mm and inch
Hold down both: Jumps to calibration mode
Calibration Mode:
Expects to record raw counts for 1000mm of filament. The display will show the raw position in counts.
Steps:
Zero the position at your measurement starting point
Draw out exactly 1000mm/39.37in of filament (using a tape measure or other reference)
Press the units button (value must be non-zero. Negative values OK too!)
The value will automatically be stored and the mode should return to Normal Mode
Reset Button: Press to zero length.
Design Targets
Accuracy: 1mm over 1M
Cost: <$20
Easy to use.
Bill of Material
- 1 Arduino Nano (ASIN B0713XK923)
- 1 AS5600 kit (PCB,magnet horizontal,5mmx2mm Amazon ASIN:B094F8H591)
- 1 OLED,128×64,I2C Display (ASIN B076PNP2VD)
- 4 M5 x 20 Socket Head Cap Screw
- 3 Ball Bearing, 608, ABEC-9, 8x22x7
- 4 Stand-off M3x10
- 4 Stand-off M2x5
- 1 PCB 50×70 (ASIN B081Q5JZ43)
- 2 header,male, horizontal, 2.54mm
- 2 Push-button, momentary
- 8 Dupont wire jumpers 20cm
- 1 housing_top, 3d printed
- 1 housing_bot, 3d printed
- 1 housing_front, 3d printed
- 1 Wheel, 3d printed
- 1 Snap-ring, 3d printed
Library Dependencies
Copy these libraries to your Arduino Libraries folder
https://github.com/adafruit/Adafruit_SSD1306.git
